How to Keep Your Dust Collection System Running Smoothly: A Step-by-Step Guide
Dust collection systems are essential for maintaining air quality, protecting equipment, and ensuring workplace safety. However, even the best-designed system requires regular attention to operate effectively over time. Neglecting maintenance can lead to clogs, reduced efficiency, safety risks, and costly downtime.
This step-by-step guide outlines practical measures you can take to keep your dust collection system running smoothly.
Step 1: Perform Daily Visual Inspections
Start each shift or workday with a quick visual inspection. Check for:
Unusual dust buildup around equipment or ducts
Warning lights or alarms on control panels
Loose connections or damaged ductwork
Early detection of minor issues can prevent major system failures.
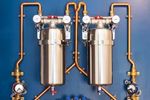
Step 2: Monitor and Maintain Filter Elements
Filters are the heart of the system. Over time, they can become clogged with fine dust particles, reducing airflow and efficiency.
Routine tasks:
Check filter differential pressure gauges
Clean reusable filters following manufacturer guidelines
Replace disposable filters when they reach their service life
Never operate the system with damaged or bypassed filters, as this can release harmful particles into the air.
Step 3: Empty Collection Bins Regularly
An overflowing dust receptacle can compromise the entire system.
Best practices:
Establish a regular emptying schedule based on system use
Use clear labeling to avoid confusion between clean and full bins
Wear proper personal protective equipment (PPE) when handling collected dust
Keeping the bins manageable also minimizes the risk of fires and reduces strain on the system.
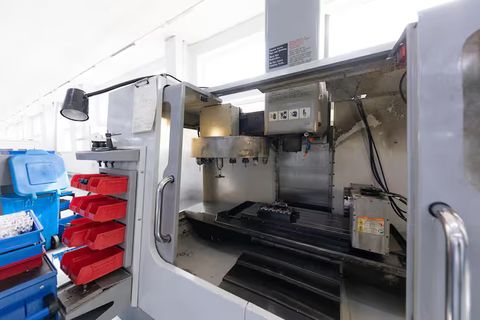
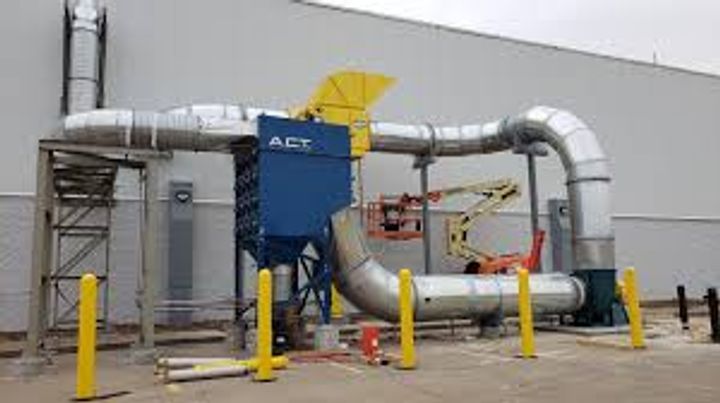
Step 4: Inspect Ductwork and Airflow
Ducts can accumulate internal buildup or suffer from physical damage that hinders performance.
Inspection checklist:
Look for blockages, corrosion, or dust settling
Check for air leaks or disconnected joints
Ensure blast gates are functioning and in the correct positions
Consider performing an airflow test periodically to confirm the system is meeting required specifications.
Step 5: Clean Fan and Motor Components
The fan or blower is responsible for moving air through the system. Dust accumulation here can lead to imbalance, overheating, and noise.
What to do:
Clean fan blades and housing
Check for vibrations or unusual noises
Lubricate motor bearings (if applicable)
Ensure proper belt tension and alignment
Regular cleaning extends the life of the motor and improves overall energy efficiency.
Step 6: Calibrate Control Systems
Modern dust collection systems often use electronic control panels, pressure sensors, and timers.
Maintenance tips:
Test and recalibrate sensors and timers periodically
Check the programming of pulse-jet cleaning systems (if used)
Record changes and performance metrics for long-term tracking
Proper calibration ensures automated functions operate as intended.
Step 7: Schedule Routine Professional Inspections
Even with diligent in-house maintenance, periodic evaluations by a qualified technician can uncover hidden issues.
Why it’s important:
Technicians use advanced tools to assess airflow, filtration efficiency, and compliance
They can recommend upgrades or adjustments for better performance
Inspections help meet safety regulations and industry standards
Final Thoughts
Keeping your dust collection system in peak condition requires a combination of daily attention, regular maintenance, and occasional expert assistance. By following these steps, you can ensure your system runs efficiently, minimizes downtime, and creates a safer work environment.A proactive approach not only extends the life of your equipment but also supports cleaner air, healthier employees, and more reliable operations.