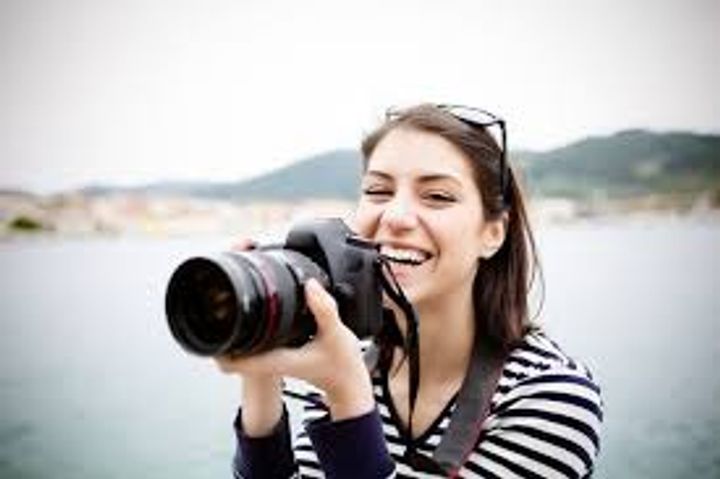
Why Professional Photography Matters Today
In an era dominated by visuals—from social media to branding—high-quality photography is essential. Professionals are in demand for events, products, journalism, art, marketing, and beyond. Additionally, mastering photography empowers you to document stories, cultures, and personal milestones meaningfully.
Who It Helps:
-
Aspiring photographers and content creators
-
Entrepreneurs and small businesses needing visuals
-
Artists exploring visual storytelling
-
Job seekers in creative industries
-
Social media influencers and digital marketers
Problems It Solves:
-
Builds visual identity for brands and individuals
-
Enables monetization through freelance or studio work
-
Provides a creative outlet and professional credibility
-
Fulfills the demand for high-quality content across industries
Step-by-Step Process to Master Professional Photography
Step 1: Understand the Basics of Photography
Start with foundational concepts that apply to any camera or genre.
-
The Exposure Triangle: Learn how ISO, shutter speed, and aperture work together
-
Focus & Depth of Field: Control what’s sharp and what’s blurred
-
Composition Techniques: Rule of thirds, leading lines, symmetry, and framing
-
Lighting Basics: Natural vs. artificial light, direction, and intensity
Tip: Use visual aids like the chart below to understand settings interaction:
| Setting |
Effect on Image |
Side Effect |
| Shutter Speed |
Freezes or blurs motion |
Too slow = camera shake |
| Aperture |
Controls depth of field |
Affects brightness and bokeh |
| ISO |
Sensitivity to light |
High ISO = more noise/grain |
Step 2: Choose the Right Equipment
You don’t need the most expensive gear, but investing wisely helps.
Beginner Kit Suggestions:
-
Camera: Entry-level DSLR (Canon EOS Rebel) or mirrorless (Sony Alpha series)
-
Lenses: 50mm prime for portraits, wide-angle for landscapes
-
Tripod: For stability in low light or long exposures
-
Accessories: SD cards, lens cleaning kit, extra batteries
As you advance:
-
Use fast lenses (f/1.8 or lower)
-
Try external flashes or reflectors
-
Explore drones or gimbals for dynamic shots
Step 3: Practice Regularly and Analyze Your Work
Consistency and critique are key to growth.
-
Daily or Weekly Photo Projects: Shoot in various lighting, subjects, or styles
-
Replicate Master Photographs: Study what makes them effective
-
Join Photography Communities: Share work and receive feedback (Flickr, Reddit, 500px)
-
Use Metadata: Review your camera settings after each shoot
Pro Tip: Maintain a photo journal or blog to track your progress.
Step 4: Learn Editing and Post-Processing
Post-production refines your images and adds professional polish.
Software to Learn:
-
Adobe Lightroom – For color correction, exposure, and batch editing
-
Adobe Photoshop – For retouching, composites, and fine detail work
-
Capture One – Popular among studio and fashion photographers
-
Free Options: GIMP, Darktable
Core Editing Skills:
-
Cropping and straightening
-
White balance adjustments
-
Contrast, highlights, and shadows
-
Skin retouching and sharpening
-
Using presets or LUTs without overediting
Step 5: Study Genres and Develop a Niche
Each photography niche has unique challenges and equipment.
| Genre |
Key Skills Needed |
Common Tools |
| Portrait |
Lighting, posing, background control |
Reflectors, softboxes, prime lens |
| Landscape |
Composition, patience, weather reading |
Tripod, ND filters, wide-angle lens |
| Product |
Clean backgrounds, detail, consistency |
Lightbox, macro lens |
| Event/Wedding |
Storytelling, crowd management |
Zoom lenses, multiple bodies |
| Street |
Discretion, timing, social awareness |
Fast autofocus, compact camera |
Tip: Experiment with different types before specializing.
Step 6: Build a Portfolio and Online Presence
Your work needs to be seen to gain credibility and clients.
Portfolio Tips:
-
Curate only your best work (10–15 images per genre)
-
Group by theme or story, not just individual shots
-
Include before/after editing comparisons if relevant
Where to Showcase:
-
Website builders: Squarespace, Wix, Format
-
Social media: Instagram, LinkedIn, Behance
-
Photo-sharing platforms: 500px, SmugMug
-
Print: Exhibitions, coffee table books, zines
Step 7: Keep Learning and Evolving
The photography world is dynamic. Stay updated with trends, tools, and techniques.
Learning Resources:
-
Online Courses: Skillshare, Coursera, Domestika
-
Books: “Understanding Exposure” by Bryan Peterson, “The Photographer’s Eye” by Michael Freeman
-
YouTube Channels: Peter McKinnon, Jessica Kobeissi, Sean Tucker
-
Workshops & Certifications: Join Nikon/Canon-sponsored events or workshops by professional groups
FAQs
Can I become a professional photographer without formal education?
Yes. Many successful photographers are self-taught through practice, online learning, and mentorships.
How long does it take to master photography?
It varies. With consistent practice, noticeable progress can happen within 6–12 months. Mastery is a long-term journey that evolves with experience.
Do I need expensive gear to shoot professionally?
Not initially. A mid-range camera and good lenses can produce professional results. Skill and creativity matter more than gear.
How do I get photography clients?
Start with friends or local businesses, build a strong portfolio, network online, and use platforms like Fiverr, Upwork, or local classifieds.
What are common mistakes to avoid as a beginner?
Over-editing, ignoring lighting, shooting without a plan, not backing up work, and using auto mode all the time.
Final Thoughts
Mastering professional photography is a rewarding blend of art, technology, and storytelling. With patience, practice, and curiosity, anyone can grow from a beginner to a confident image maker.Start where you are, learn what you can, shoot often, and don’t be afraid to make mistakes. Every frame you take is a step toward mastering the craft—and telling stories that matter.